官网链接:https://openlayers.org/ 整理自:https://linwei.xyz/ol3-primer/ gis小白从零开始学习,需要懂得前端基础知识 不bb,开干 方式一:cnd导入 方式二:下载包导入 github地址:https://github.com/openlayers/openlayers/releases 注:学习openLayer前必须搞懂坐标系,也就是经纬度单位(EPSG:4326, EPSG:3857)具体自行百度 意为将EPSG:4326单位的当前坐标转换为EPSG:3857单位的坐标 二、地图导航(view) 详细fit函数 参见官网api : https://openlayers.org/en/latest/apidoc/module-ol_View-View.html#fit 欢迎补充
快速开始
一、形成地图
导入文件
<link rel="stylesheet" href="https://cdn.jsdelivr.net/gh/openlayers/openlayers.github.io@master/en/v6.3.1/css/ol.css" type="text/css"> <link rel="stylesheet" href="https://cdn.jsdelivr.net/gh/openlayers/openlayers.github.io@master/en/v6.3.1/css/ol.css" type="text/css"> <script src="https://cdn.jsdelivr.net/gh/openlayers/openlayers.github.io@master/en/v6.3.1/build/ol.js"></script> 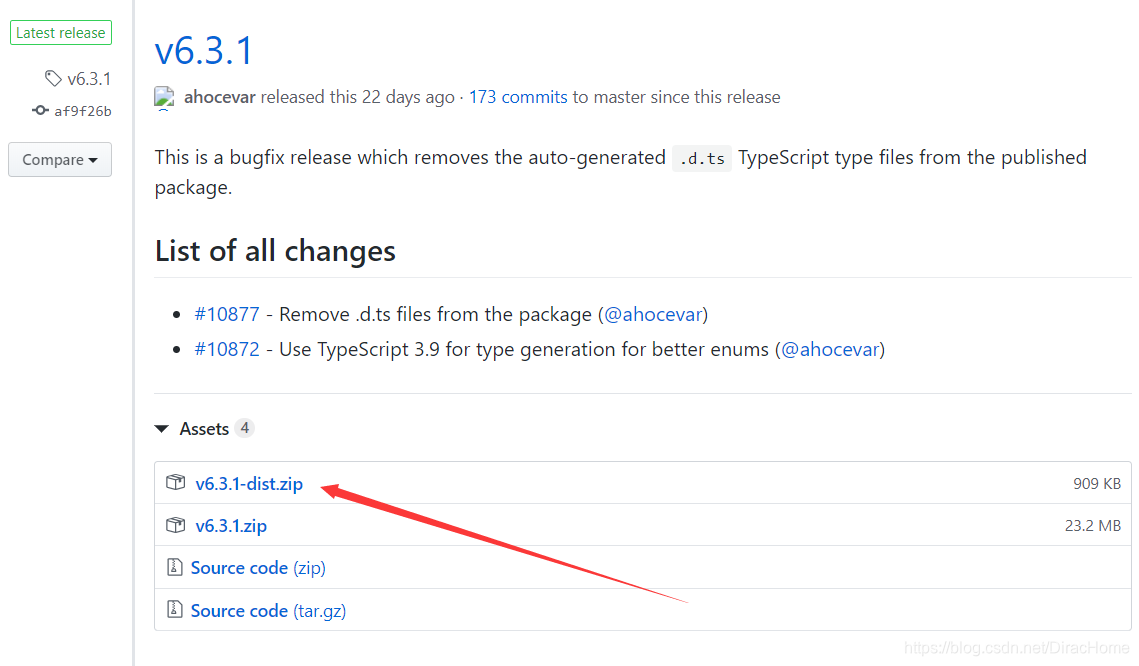
<link rel="stylesheet" href="../v6.3.1-dist/ol.css"> <script src="../v6.3.1-dist/ol.js" charset="utf-8"></script> 1.生成地图
<!Doctype html> <head> <title>OpenLayers</title> <link rel="stylesheet" href="../v6.3.1-dist/ol.css"> <script src="../v6.3.1-dist/ol.js" charset="utf-8"></script> <style> * { padding: 0; margin: 0; } body,html { width: 100%; height: 100%; } #map { height: 80%; width: 100%; } </style> </head> <body> <div id="map"></div> <script> // 创建地图实例 new ol.Map({ // 设置地图图层 layers: [ // 创建一个使用Open Street Map地图源的瓦片图层 new ol.layer.Tile({source: new ol.source.OSM()}) ], // 设置显示地图的视图 view: new ol.View({ center: [0, 0], // 定义地图显示中心于经度0度,纬度0度处 zoom: 2 // 并且定义地图显示层级为2 //地图有许多层级组成,zoom表示层级,可以理解为值越高镜头越接近地面(放大) }), // 让id为map的div作为地图的容器 target: 'map' }); </script> </body> </html>
简单地说,EPSG:4326是全球通用的,EPSG:3857是web地图常用的,也是OpenLayer默认的
可以使用ol.proj.fromLonLat函数相互转换,例如
ol.proj.fromLonLat([118.78, 32.07], 'EPSG:4326', 'EPSG:3857')2.限制地图范围(南京市为例)
<!Doctype html> <head> <title>OpenLayers</title> <link rel="stylesheet" href="../v6.3.1-dist/ol.css"> <script src="../v6.3.1-dist/ol.js" charset="utf-8"></script> <style> * { padding: 0; margin: 0; } body,html { width: 100%; height: 100%; } #map { height: 80%; width: 100%; } </style> </head> <body> <div id="map"></div> <script> new ol.Map({ layers: [ new ol.layer.Tile({source: new ol.source.OSM()}) ], view: new ol.View({ projection: 'EPSG:4326', //声明使用EPSG:4326坐标系 extent: [118.5,32, 119, 32.1], //限制大小范围,分别对应[minX, minY, maxX, maxY] center: [118.78, 32.07], zoom: 10, //当前层级 minZoom:10, //最小层级 maxZoom:14, //最大层级 }), target: 'map' }); </script> </body> </html> 1.按钮实现地图上下左右移动(南京为例)
<!Doctype html> <head> <title>OpenLayers</title> <link rel="stylesheet" href="../v6.3.1-dist/ol.css"> <script src="../v6.3.1-dist/ol.js" charset="utf-8"></script> <style> * { padding: 0; margin: 0; } body,html { width: 100%; height: 100%; } #map { height: 80%; width: 100%; } </style> </head> <body> <div id="map"></div> <input type="button" onClick="moveToLeft();" value="左移" /> <script> // 创建地图 new ol.Map({ layers: [ new ol.layer.Tile({source: new ol.source.OSM()}) ], // 设置显示地图的视图 view: new ol.View({ //projection: 'EPSG:4326', //声明当前地图坐标系单位,不写则默认EPSG:3857。本例使用EPSG:3857 center: ol.proj.fromLonLat([118.78, 32.07]), /* 注:百度的经纬度大多是EPSG:3857,当前表示将EPSG:3857的该坐标转换成EPSG:4326的坐标 等同于center:ol.proj.fromLonLat([118.78, 32.07], 'EPSG:3857', 'EPSG:4326') 当前View所使用的是默认的EPSG:3857 */ }), target: 'map' }); function moveToLeft(){ let view = map1.getView() //获取实例地图的view属性 let mapCenter = view.getCenter() //获取地图中心点坐标 mapCenter[0]+=1000 //如果使用EPSG:4326 则无法显示地图,可以将1000修改成1试试 //mapCenter是数组,长度为2,分别对应经纬度,修改对应数值即可实现地图移动 view.setCenter(mapCenter) //修改中心坐标 map1.render() //重新渲染地图 } </script> </body> </html> 2.按钮实现放大缩小地图
<!Doctype html> <head> <title>OpenLayers</title> <link rel="stylesheet" href="../v6.3.1-dist/ol.css"> <script src="../v6.3.1-dist/ol.js" charset="utf-8"></script> <style> * { padding: 0; margin: 0; } body,html { width: 100%; height: 100%; } #map { height: 80%; width: 100%; } </style> </head> <body> <div id="map"></div> <input type="button" onClick="zoomIn();" value="放大" /> <script> // 创建地图 new ol.Map({ layers: [ new ol.layer.Tile({source: new ol.source.OSM()}) ], view: new ol.View({ center: ol.proj.fromLonLat([118.78, 32.07]), }), target: 'map' }); function zoomIn(){ let view = map1.getView() view.setZoom(view.getZoom()+1) //1.获取当前层级2.当前层级+1然后重新赋值给zoom实现放大 } </script> </body> </html> 3.自适配区域
<!Doctype html> <head> <title>OpenLayers</title> <link rel="stylesheet" href="../v6.3.1-dist/ol.css"> <script src="../v6.3.1-dist/ol.js" charset="utf-8"></script> <style> * { padding: 0; margin: 0; } body,html { width: 100%; height: 100%; } #map { height: 80%; width: 100%; } </style> </head> <body> <div id="map"></div> <input type="button" value="显示滁州" onclick="fitToChengdu();" /> <script> new ol.Map({ layers: [ new ol.layer.Tile({source: new ol.source.OSM()}) ], view: new ol.View({ projection: 'EPSG:4326', //声明使用EPSG:4326坐标系 center: [118.78, 32.07], }), target: 'map' }); function fitToChengdu() { map.getView().fit([118.1, 32.2, 118.5, 32.4], map.getSize()); // 让地图最大化完全地显示区域[118.1, 32.2, 118.5, 32.4] } </script> </body> </html>
个人邮箱 10795081@qq.com
本网页所有视频内容由 imoviebox边看边下-网页视频下载, iurlBox网页地址收藏管理器 下载并得到。
ImovieBox网页视频下载器 下载地址: ImovieBox网页视频下载器-最新版本下载
本文章由: imapbox邮箱云存储,邮箱网盘,ImageBox 图片批量下载器,网页图片批量下载专家,网页图片批量下载器,获取到文章图片,imoviebox网页视频批量下载器,下载视频内容,为您提供.
阅读和此文章类似的: 全球云计算
 官方软件产品操作指南 (170)


